It’s almost done! All that’s left is to set up the video and control radio links.
How it progressed
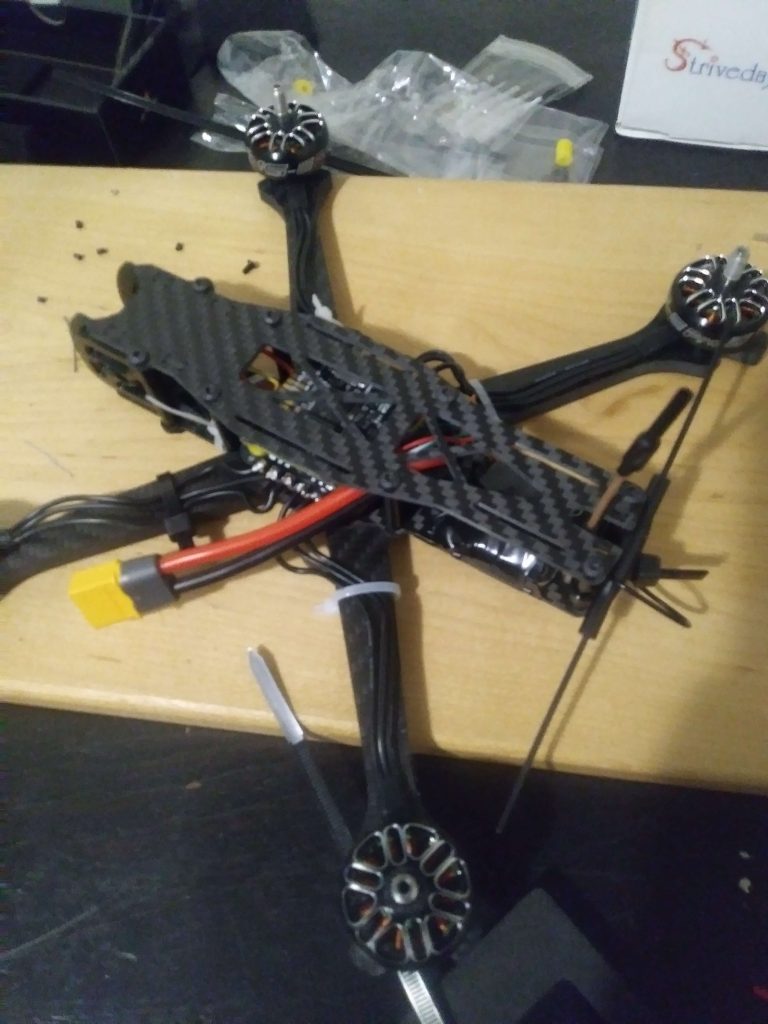
step 1 after completing the frame was to install the ESC and the motors, as well as the XT60, which is the connector that connects the ESC and the battery, which is added later.
The ESC is the Electronic Speed Controller which handles the modulation of the motor speed. It needs to support high current and voltage, which is why it is separate from the FC (Flight controller).
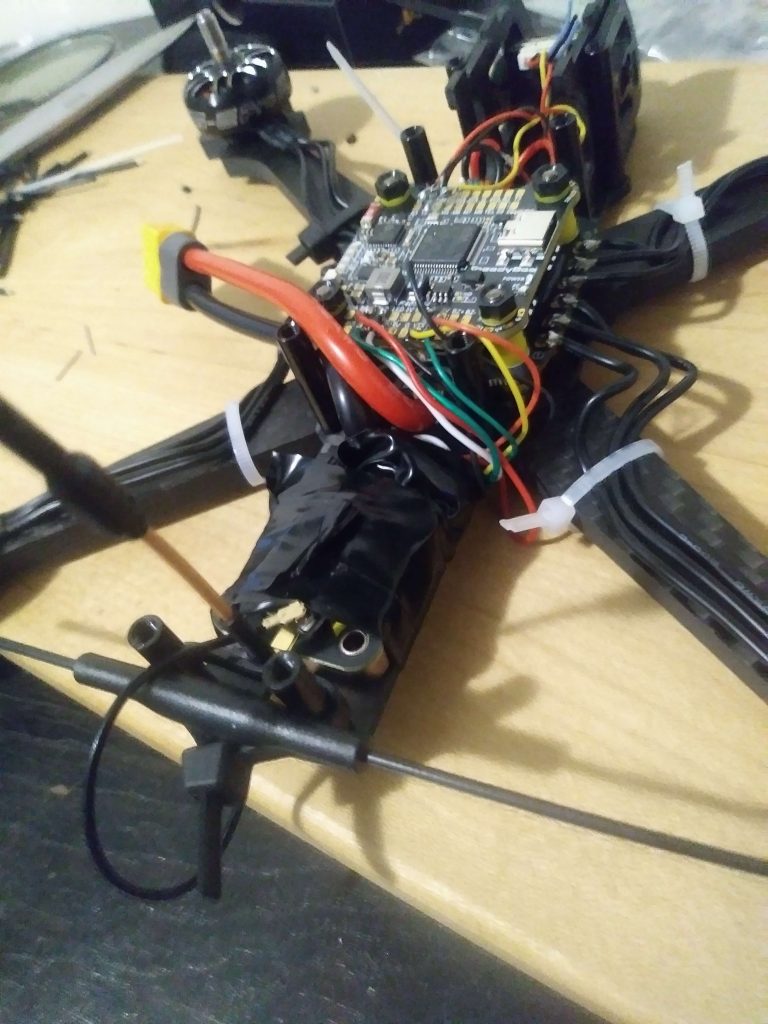
the connections from the motors to the ESC, each of which is three wires, can be seen in the photo above. The reason there are three wire is because these are brushless motors, which are driven by 3 phase power ( 1 wire for each phase, 120 degrees apart). If you look closely, you may be able to see some wires coming from beneath the ESC towards the front of the drone. These wires connect to a high value capacitor, which is used to smooth out the input from the battery, which results in less power failures.
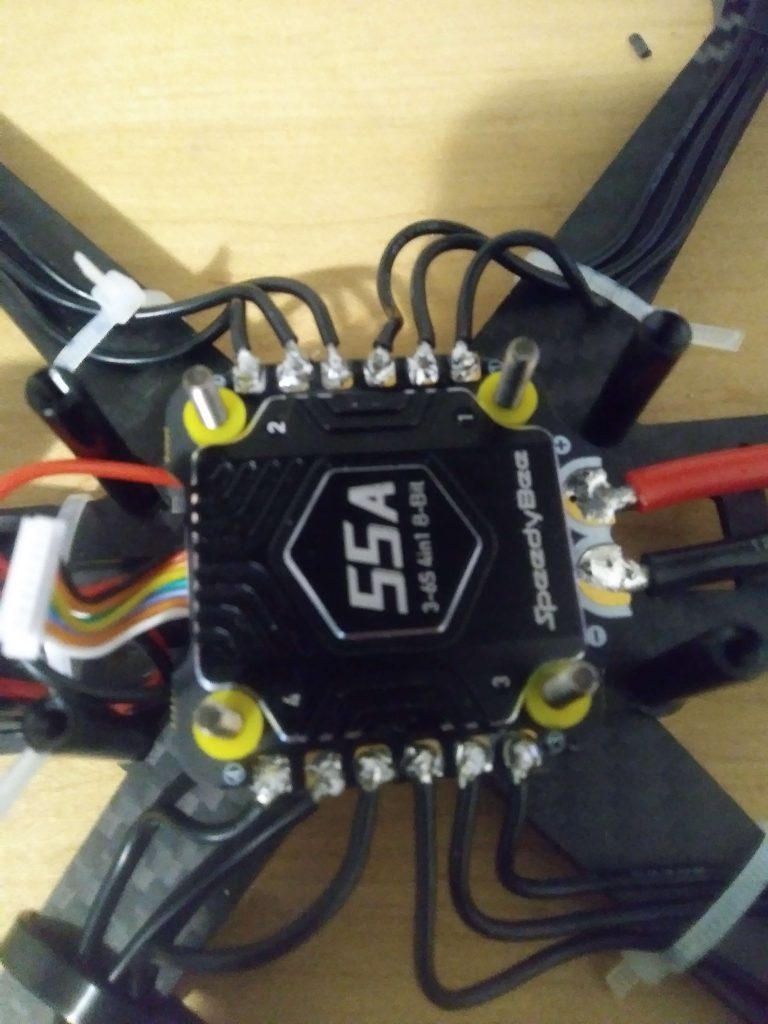
Above: a close up of the connections to the ESC.
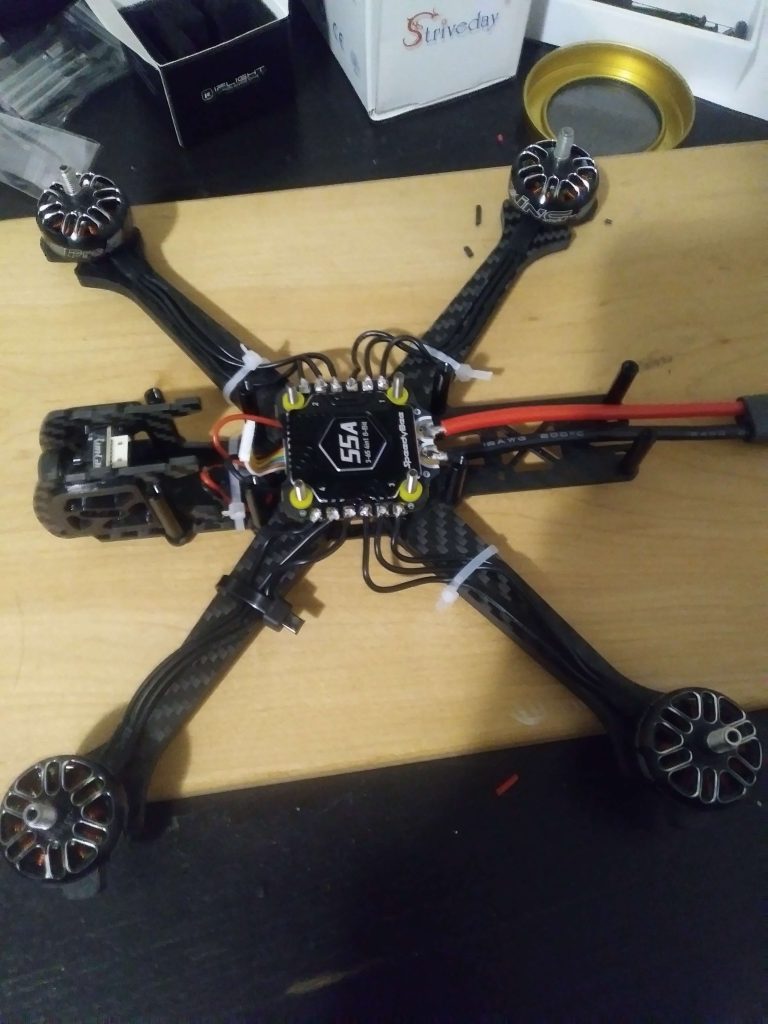
Step 2 is the installation of the Flight Controller (FC). The FC does all the computation involved with the stabilization of the drone, the video recording and transmission, and the radio control system. It also handles all the nice extra features, such as OSD (On Screen Display), which allows the pilot to see data like altitude and battery strength in real time.
Installing the flight controller is a much more involved process, as connections have to be made between the camera, VTX (Video Transmitter), ELRS receiver and the pads for soldering are much smaller.
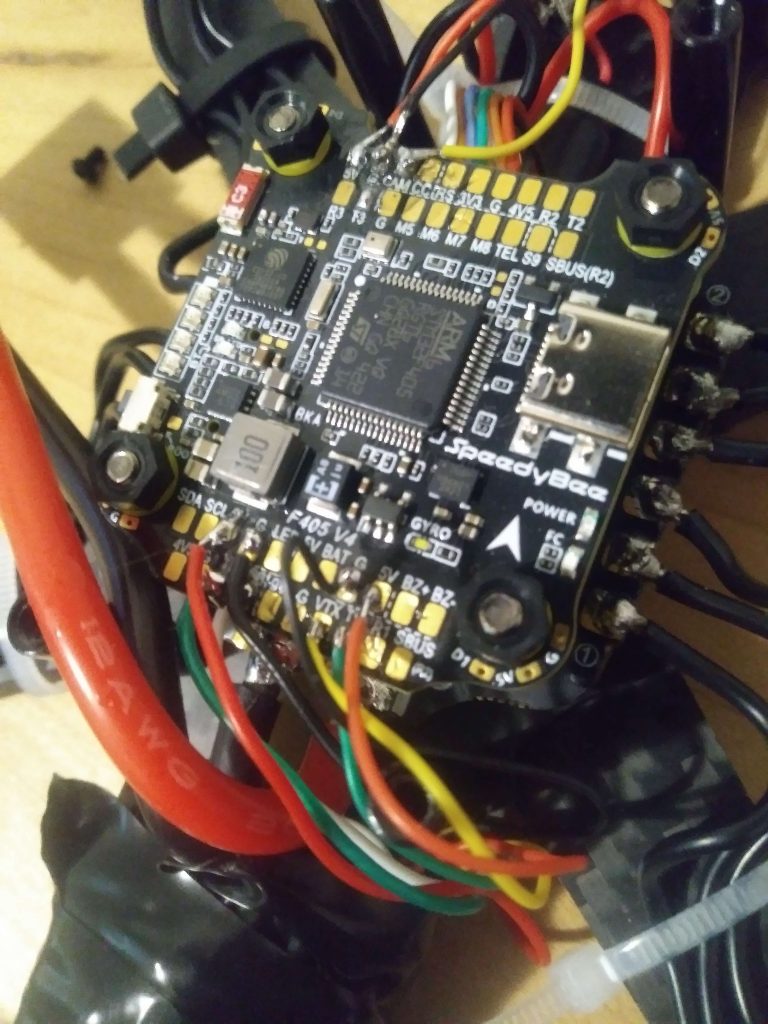
The VTX and ELRS receiver were secured to the back using electrical tape.
There are 3d printed holders for the radios but I didn’t have any on hand. It’s not super important how they are mounted as long as they are secure and have decent airflow. I will be improving this once I figure out a good strategy.
After I tested the drone to ensure it was functional, I was able to install the top plate of the frame.
This is the current status of the drone. It is functional, the motors spin when testing, but I haven’t managed to link the radio, so I can’t actually fly it yet.
Drone components:
- SpeedyBee F405 V4 stack (FC and ESC)
- Xing motors (will update actual model)
- Runcam camera (…)
- VTX
- ELRS receiver
- TBS source one V6 frame
Note: when you plug in the battery, it may make a snapping sound. this is not an issue if there are no other problems, it is just the capacitor filling up.
Leave a Reply